文章目录
UUID是用于提供全局唯一编码的程序,可以将其添加到PostgreSQL中,这里是UUID的主页。
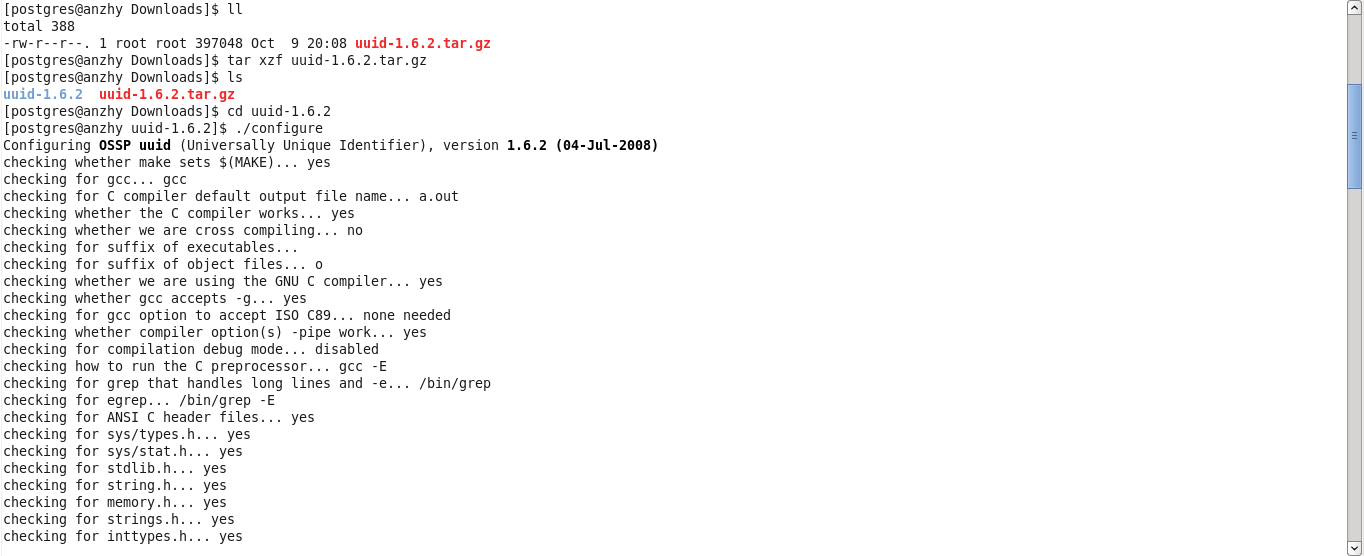
下载最新版本uuid-1.6.2.tar.gz的源码,解压,configure,编译安装,与一般的程序安装并无很大差异。也可以使用yum install uuid uuid-devel来安装,不过我的Centos6.5的源上面还是1.6.1版本的UUID。本文使用的是前者,主页上面的下载连接似乎已经坏了,这里提供的链接可以下载。
1 2 3 4 5
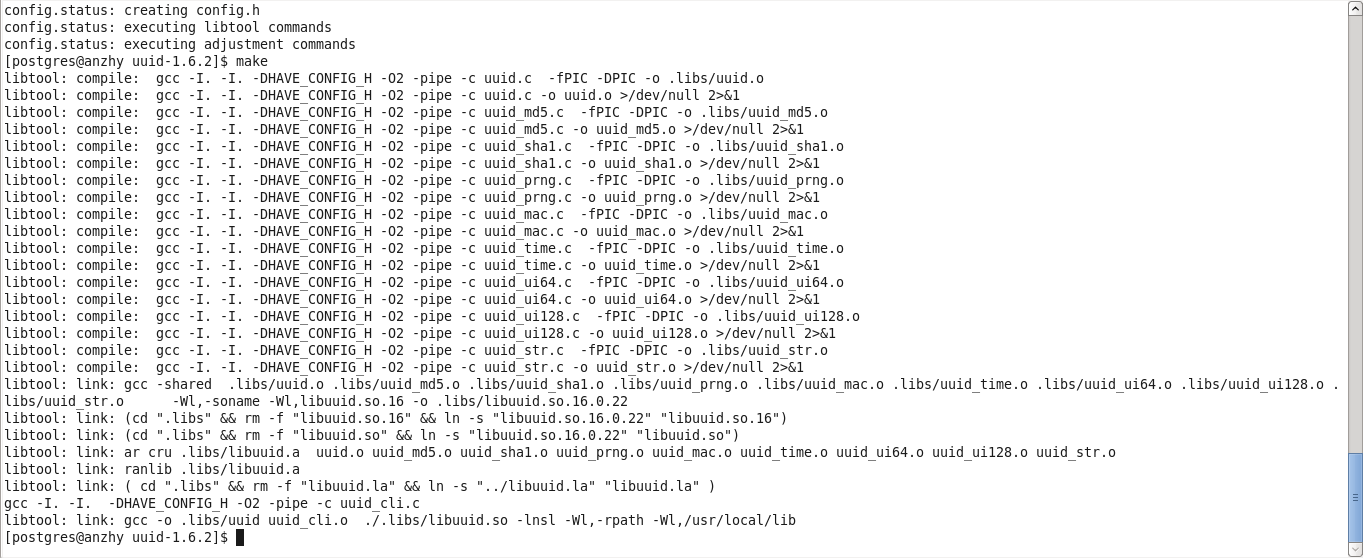
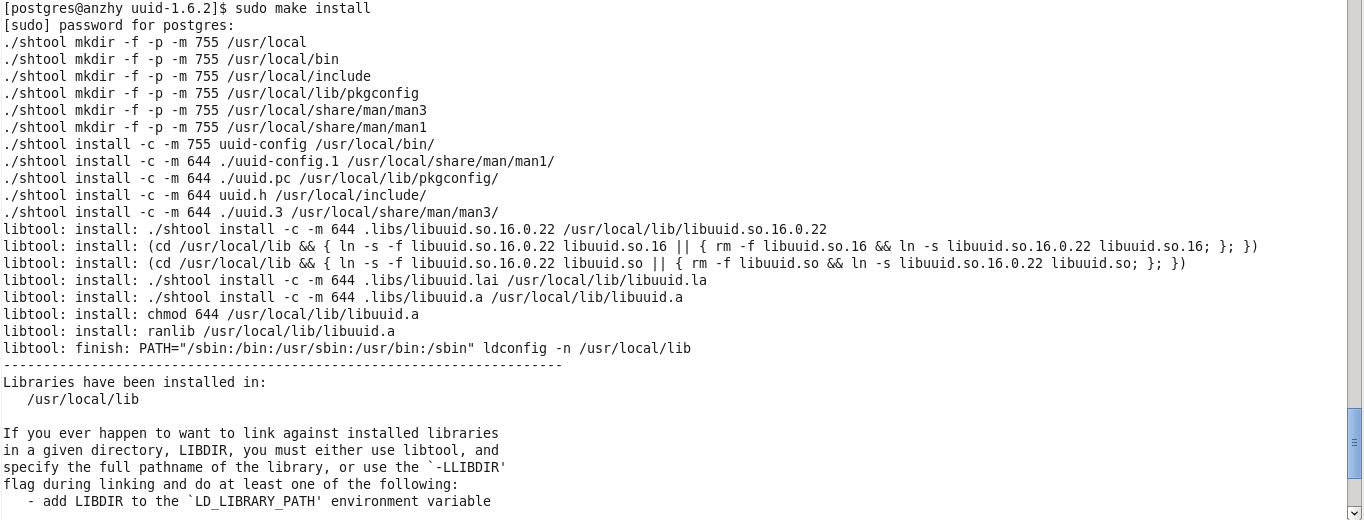
| [postgres@anzhy Downloads]$ tar xzf uuid-1.6.2.tar.gz [postgres@anzhy Downloads]$ cd uuid-1.6.2 [postgres@anzhy uuid-1.6.2]$ ./configure [postgres@anzhy uuid-1.6.2]$ make [postgres@anzhy uuid-1.6.2]$ make install
|
然后,PostgreSQL需要重新编译安装,PostgreSQL的安装可以参考我之前的博客,这里和这里。先做PostgreSQL的configure,
1
| [postgres@anzhy postgresql]$ ./configure --prefix=$HOME/postgres --with-ossp-uuid --enable-depend --enable-cassert --enable-debug
|
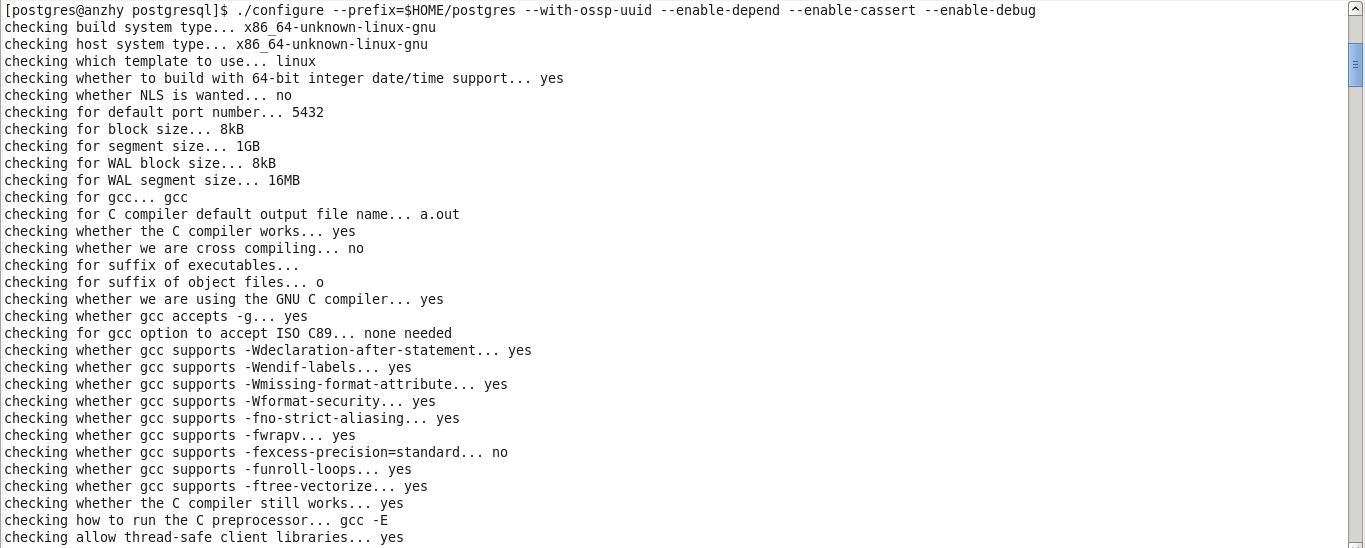
注意,在configure的时候要增加--with-ossp-uuid选项,然后就可以用正常的步骤编译安装PostgreSQL,不再重复。安装完PostgreSQL之后,补上UUID扩展的安装,从PostgreSQL源码的根目录切换到uuid插件的目录,然后编译安装。
1 2 3
| [postgres@anzhy postgresql]$ cd contrib/uuid-ossp/ [postgres@anzhy uuid-ossp]$ make [postgres@anzhy uuid-ossp]$ make install
|

由于uuid把库安装在了/usr/local/lib,所以我们需要把这个目录加入到LD_LIBRARY_PATH环境变量中
1
| export LD_LIBRARY_PATH=$POSTGRESQLHOME/lib:/usr/local/lib:$LD_LIBRARY_PATH
|
然后,启动PostgreSQL,进入psql,运行,
1 2
| postgres=# create extension "uuid-ossp"; postgres=# select extname,extowner,extnamespace,extrelocatable,extversion from pg_extension;
|
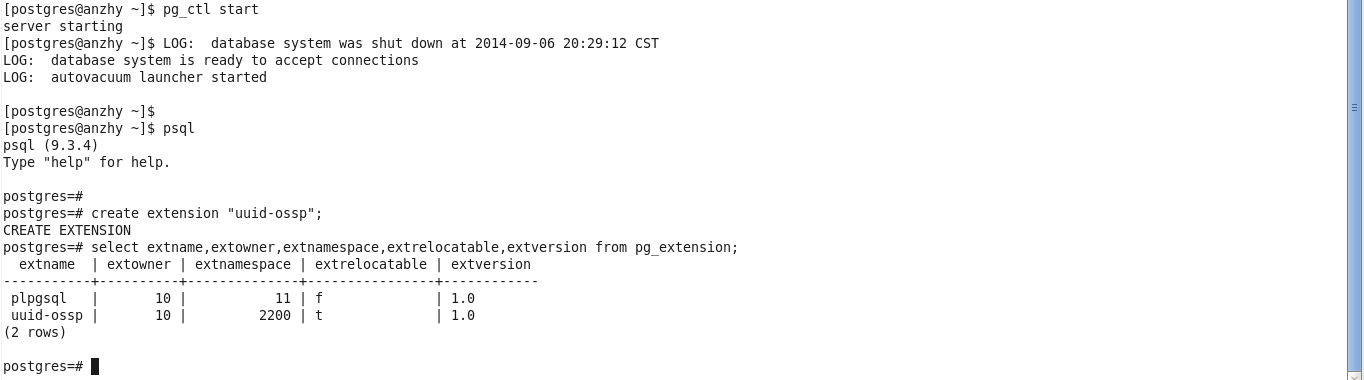
可以看到,uuid扩展已经安装成功。
本文参考了以下文章。